How to Make a Dog Scratching Pad - Easy DIY Project for Beginners
Share
As dog owners, our little pooch’s overgrown nails make all of us a little worried. Nail clippers and Dremel all seem like great options but what if your dog simply hates them? Cue in the scratchpad; convenient to use and takes little to no effort once your dog gets the hang of it.
But the question arises; can I make my dog one myself? YOU CAN! With just a few simple steps, you can make your dog the perfect scratch pad that’ll keep their nails trimmed and all the unnecessary scratching at bay. But what if you don’t want to put in all that effort? The solution is simple, check out the scratch pad from Bruno and Coco. It’s affordable and is durable, reusable, and super-effective, and most importantly it’s made by professionals so you know it’s completely safe to use.
As far as DIY projects go, let’s make it short and simple. Here’s how to do it:
Materials:
- Wooden Plank (depending on the size of your dog)
- PVA Glue
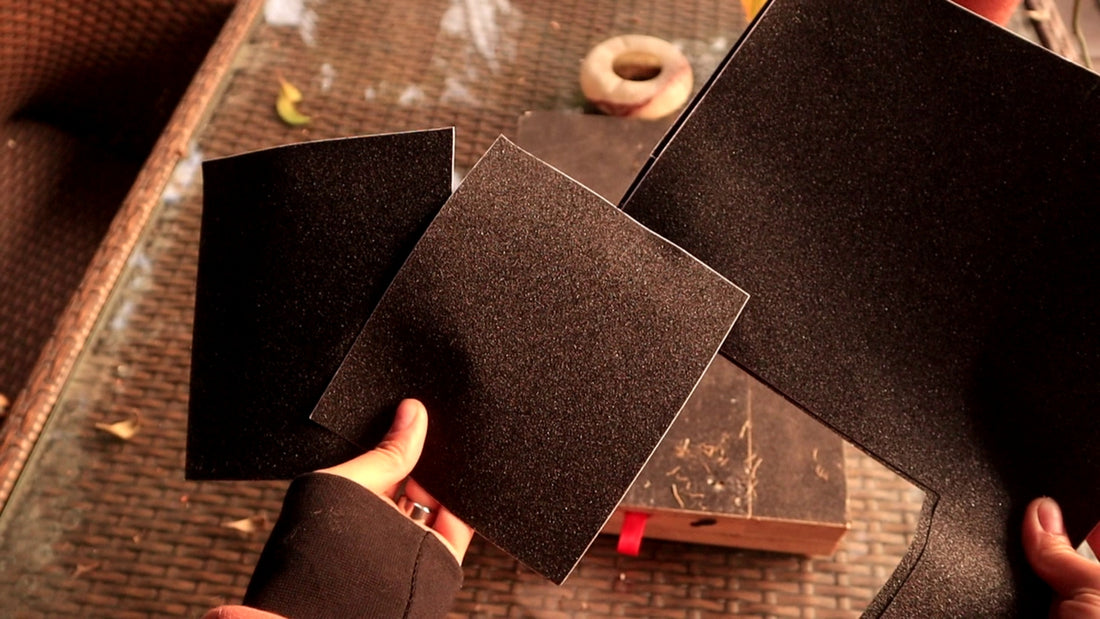
- Sandpaper (80 or 120 grit)
- Scissors/Cutters

You’ve headed to Home Depot and gathered all the materials. Now what? Well, DIY projects for your pet are fun to make but there are a few things you have to take note of.
Make sure you use glue that is non-toxic to your dog. PV glue is generally considered to be non-toxic, however, a quick Google search will ensure your dogs stay safe in case your dog starts knowing at the scratchpad.
When buying wood, consider getting bamboo or natural pinewood. They are safe for your dogs, as most scratch pads are made of this specific type of wood.
Make sure the wood you use is thick in case your doggo is enjoying themselves a little too much, we don’t want your scratchpad to break now do we?
If you don’t wanna get into the hassle of cutting the wooden board yourself, measure your dog’s paw length and add a couple of inches to it for the ideal board size.
Now that we’ve got all the safety precautions down, let’s start making our very own scratch pad!
Instructions:
- Measure the size of the board on the back of a sandpaper. Use a scissor to cut the sandpaper so that the entire board is covered with it.
- Apply a generous amount of glue to the wooden box.

- Now carefully place the sandpaper on top of the wood. With your hands gently even out the surface to avoid any air bubbles. This is also to make sure that glue is distributed evenly to all areas of the sandpaper. If any glue oozes out, clean it with a dry towel, or tissue paper.
- Here’s the pro tip; place a heavy object on top of the sandpaper as it dries. This will ensure that it sticks properly.
- When your glue dries up, introduce your scratch pad to your dog!
And voila! There you have it. In 5 simple steps, you can make your scratch pad at home.
Unfortunately, making one at home has its downsides. Since the scratch pad we make at home is suited to be used horizontally on the floor, it may not satisfy the needs of every dog. Many scratching pads on the market are specifically angled to fit the average dog's anatomy. As they scratch, dogs often adjust their shoulder and leg positions to find the perfect angle for maximum leverage and effective reach. These angled designs may provide added advantages such as improved stability or encouraging particular scratching movements. The scratch pad from Bruno and Coco comes with a unique and adaptable design that can cater to different dog sizes (supporting up to 90 lbs). It comes with adjustable angles of 0°, 30°, 35°, and 45° so you can adjust the incline according to your dog's preference and comfort.
So if you’re feeling a little lazy and have safety concerns regarding the DIY scratch pad, order now from the Bruno and Coco shop!
